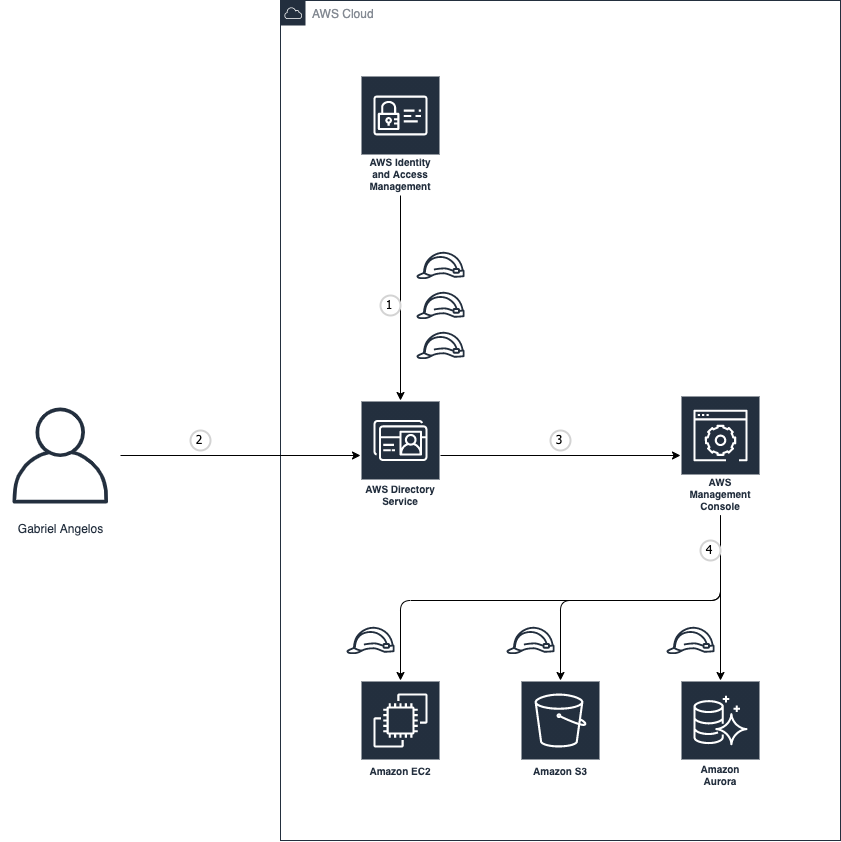
AWS DS and Console integration
Configuration (AWS Console #1)
1.Deploy AWS Managed AD
Log into AWS Console and find Directory Services.
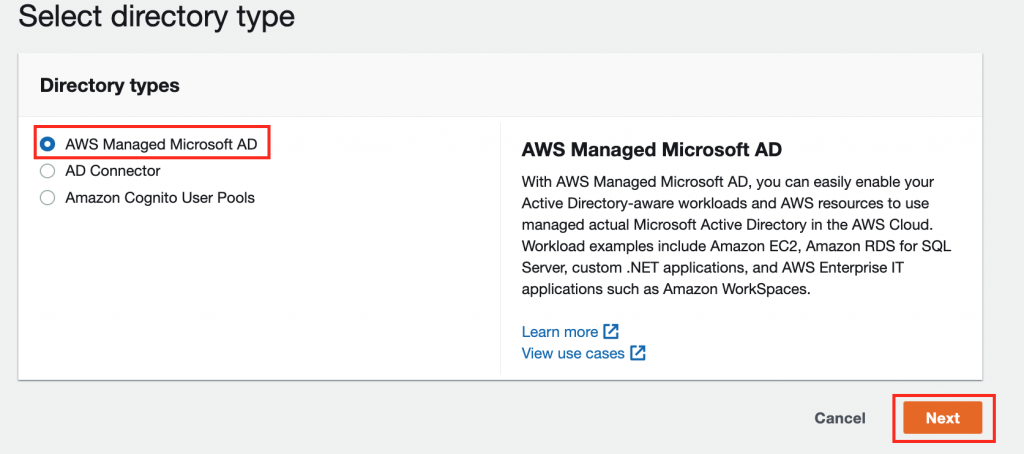
Select AWS Managed Microsoft AD and click Set up directory.
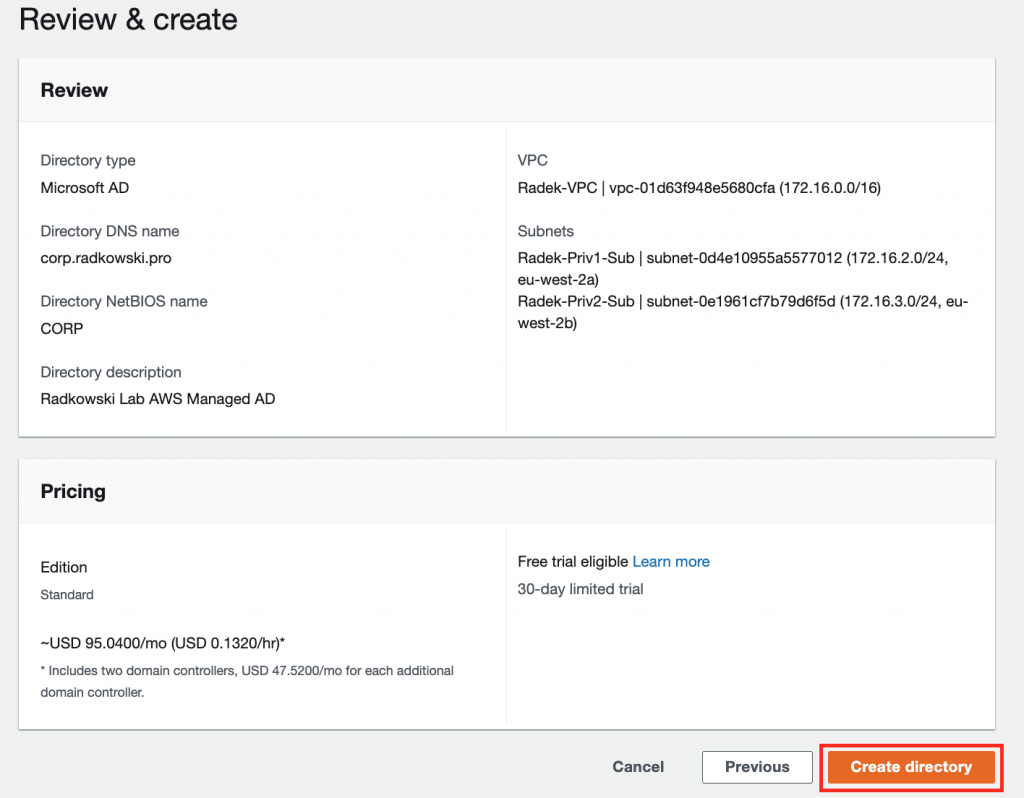
3.Edition type and initial paramaters
Confirm Edition. Follow link below to get more information about Editions differences.
Provide initial parameters. Directory DNS Name and Admin password are obligatory.
4.Networking
Provide VPC and subnets information where AD servers will be deployed. Bear in mind that subnets must be configured in different AZs.
It's possible to create new network layout based on principals above.
7.Create roles (#1)
Log into AWS Console and find IAM. Select Roles and click Add new role
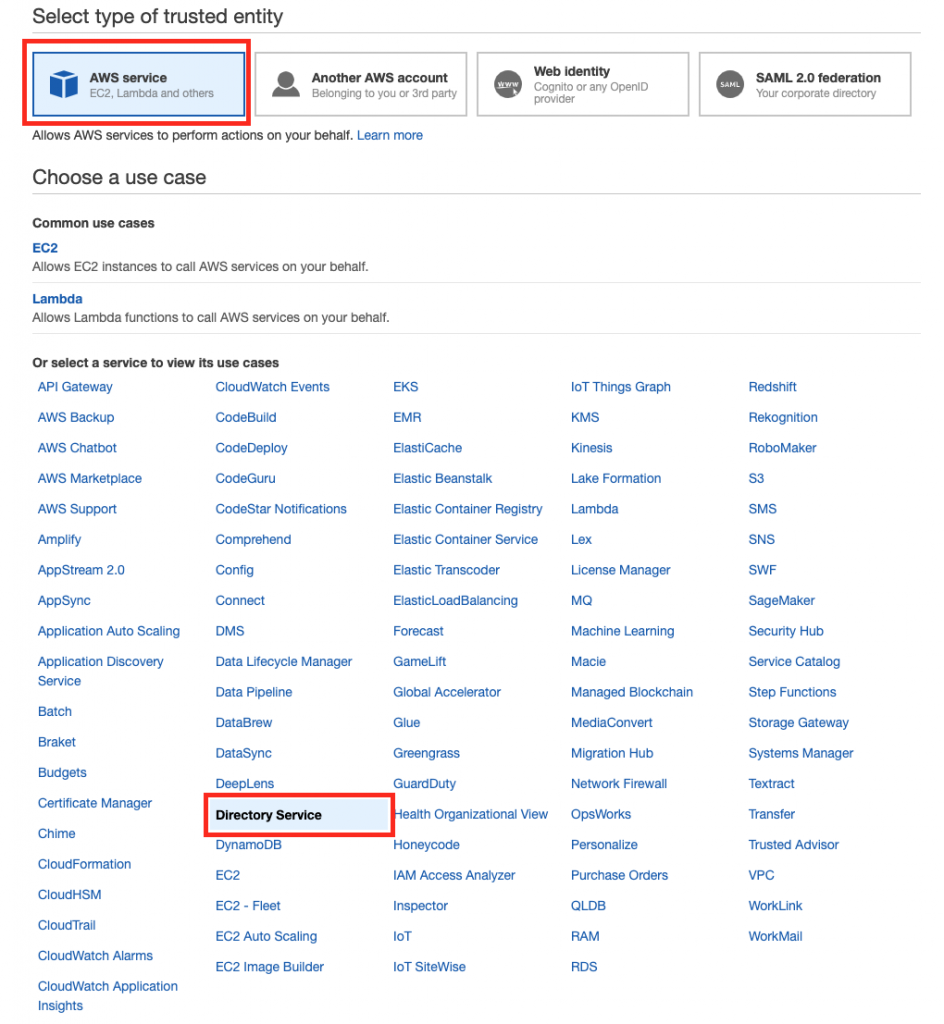
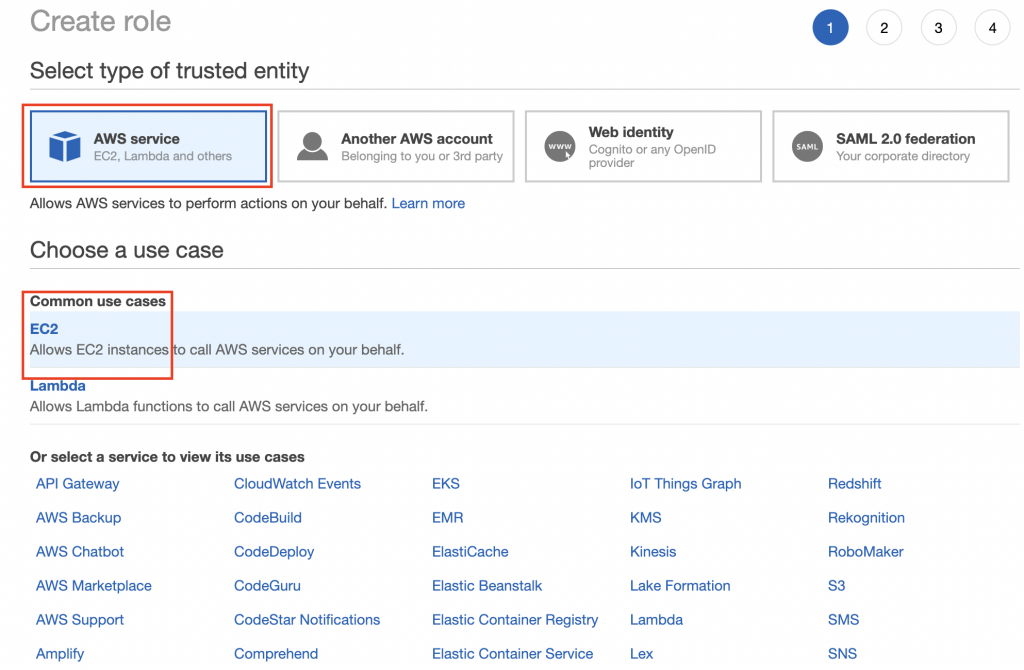
Select AWS Service -> Directory Service as a trusted entity
Set role name to AD-Admins
8.Attach policy (#1)
Using AWS Console attach policy to role. This policy will define level of access user(s) will have once log into Console using AD credentials.
9.Create roles (#2)
Repeat step #7 and create another role with the same trust policy and different permission policy. In our scenario, second role (AD-viewonly) has ViewOnlyAccess attached.
10.Create roles (#3)
Select Roles and click Add new role. Select AWS Service -> EC2 as a trusted entity. Set role name to EC2-AD-Join
11.Attach policy (#2)
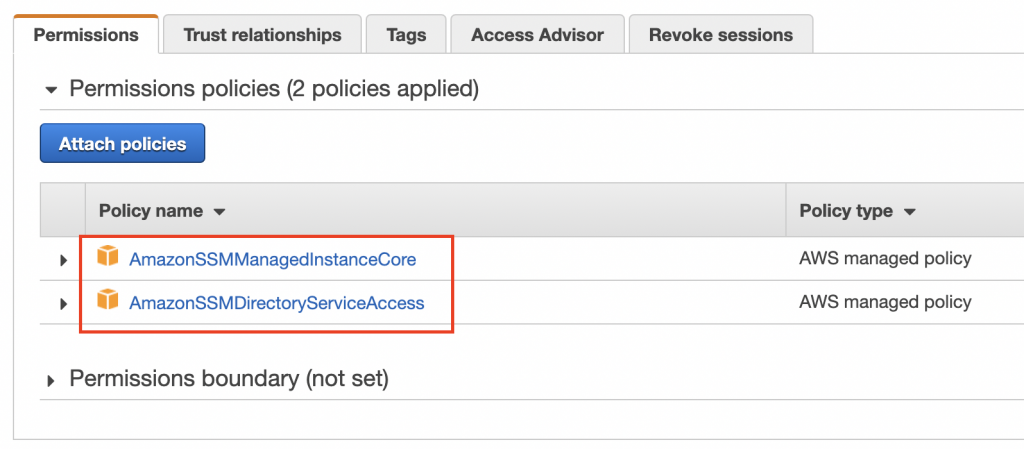
Using AWS Console attach following policies into the role:
- AmazonSSMManagedInstanceCore
- AmazonSSMDirectoryServiceAccess
Configuration (AD Client)
12.Create AD Client
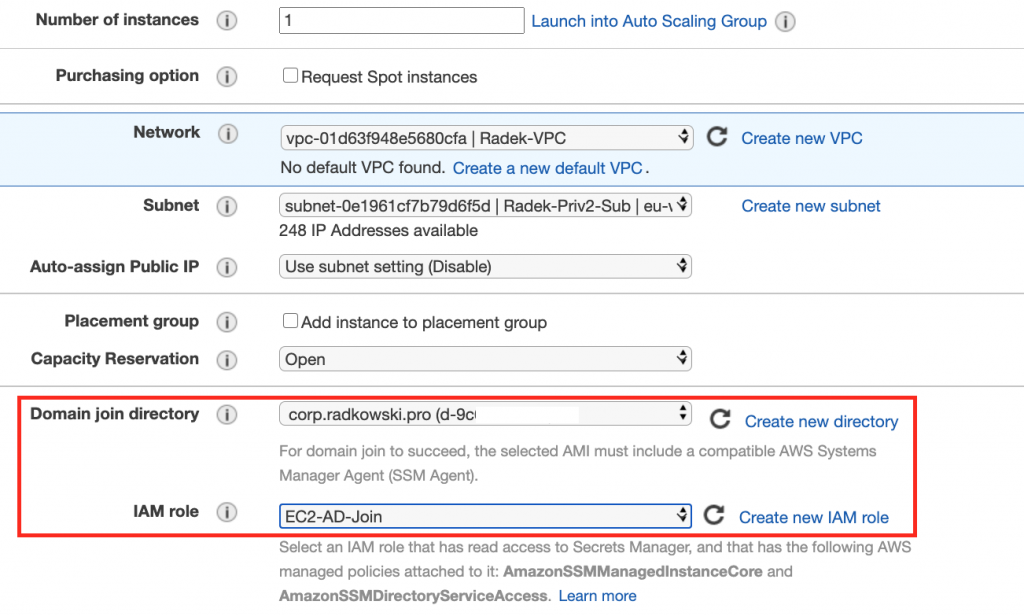
Using AWS Console -> EC2 create new Windows type instance.
- Set Domain Join Directory to AWS Managed AD created in steps 1-6
- Set IAM role to role created in steps 10-11
13.Create AD User
- Connect to Windows Client using RDP and login using admin credentials created in step #3
- Use Add/Remove Programs to install Windows Active Directory Administrative Tools (ADAT).
- Using ADAT create one user (in following example gabriel.angelos@corp.radkowski.pro has been created)
Configuration (AWS Console #2)
14.Enable Console integration
- Come back to AWS Console, select Directory Services
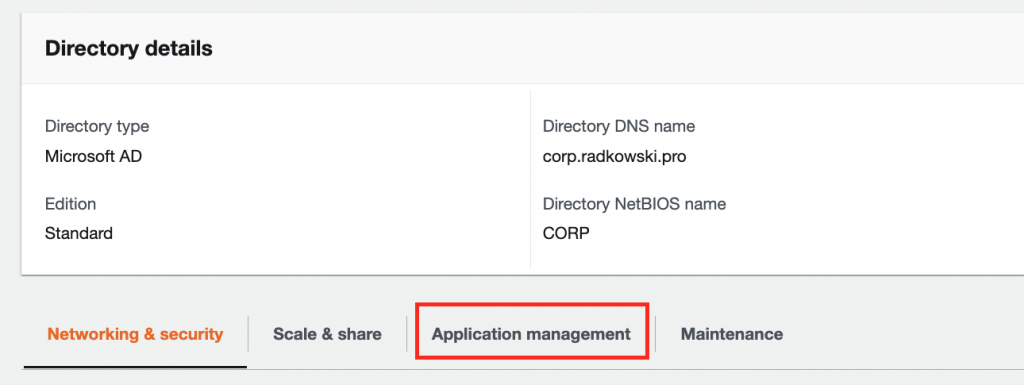
- Select AD created in steps 1-6, click Application Management tab
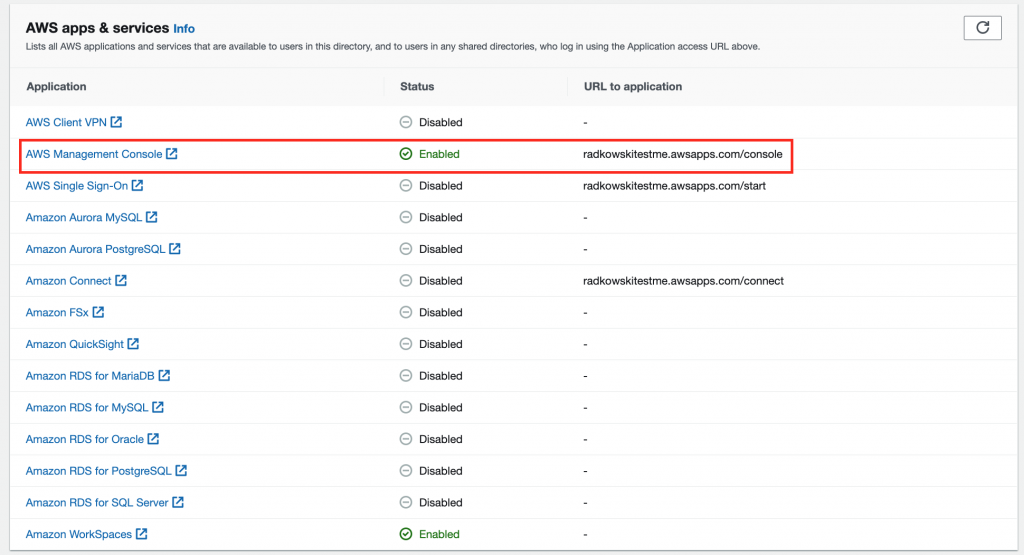
- Enable AWS Management Console
15.Delegate Console Access (#1)
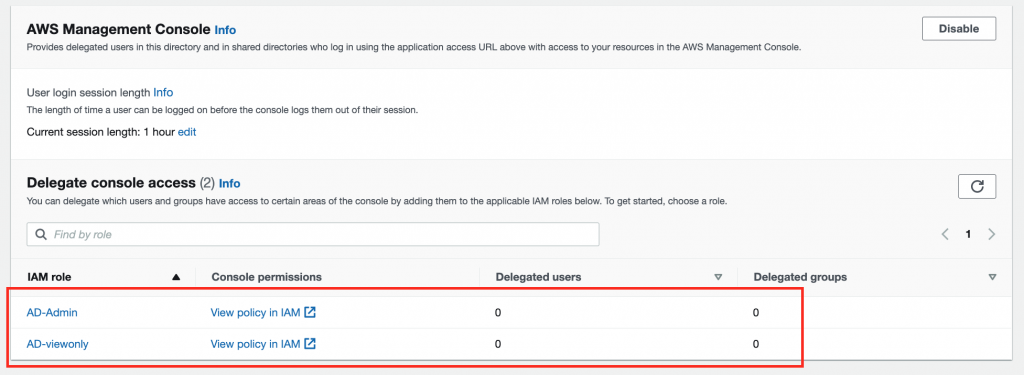
Confirm if both roles created in steps 7-9 are visible in Delegate Console Access view.
Bear in mind that there are no groups/users delegated to both roles.
19.AWS Console Dedicated URL
- Come back to AWS Console, select Directory Services
- Select AD created in steps 1-6, click Application Management tab
- Collect AWS Managed Console dedicated URL
Test Area
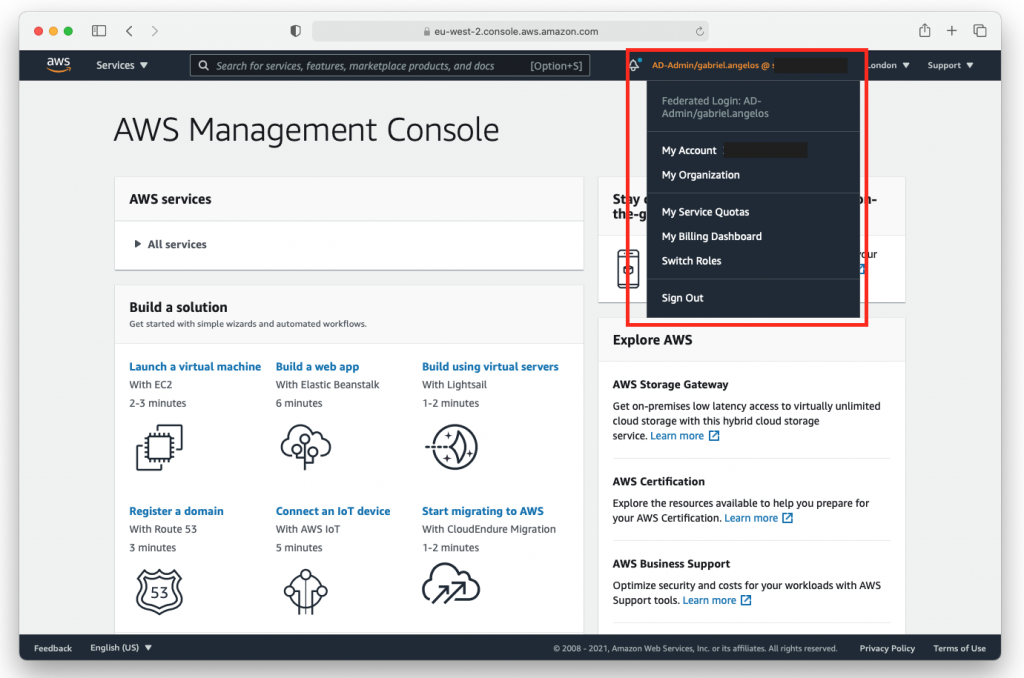
20.Access to AWS Console
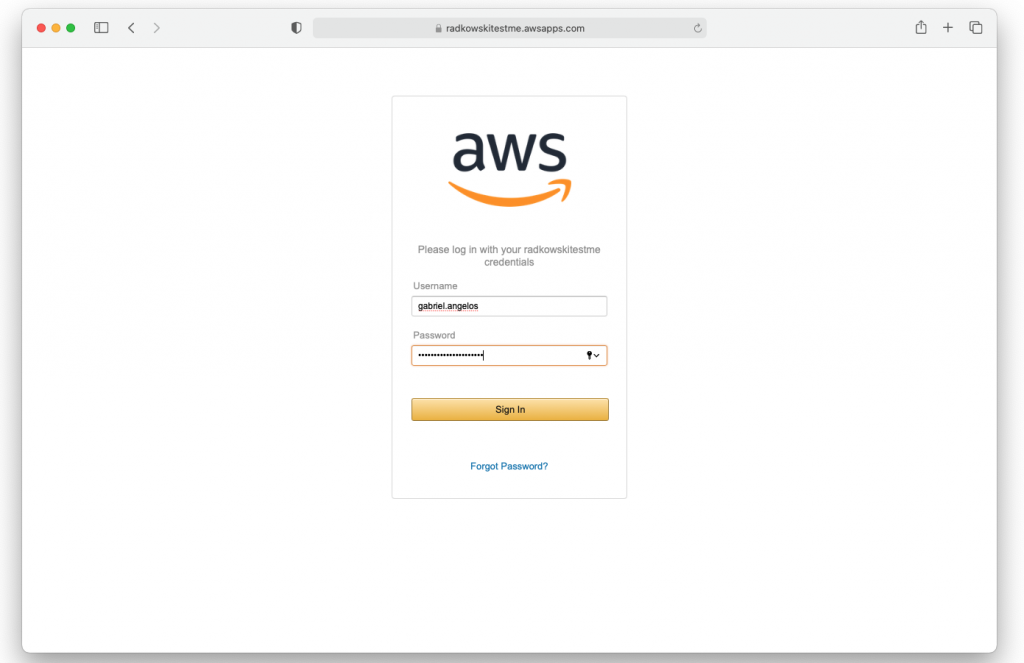
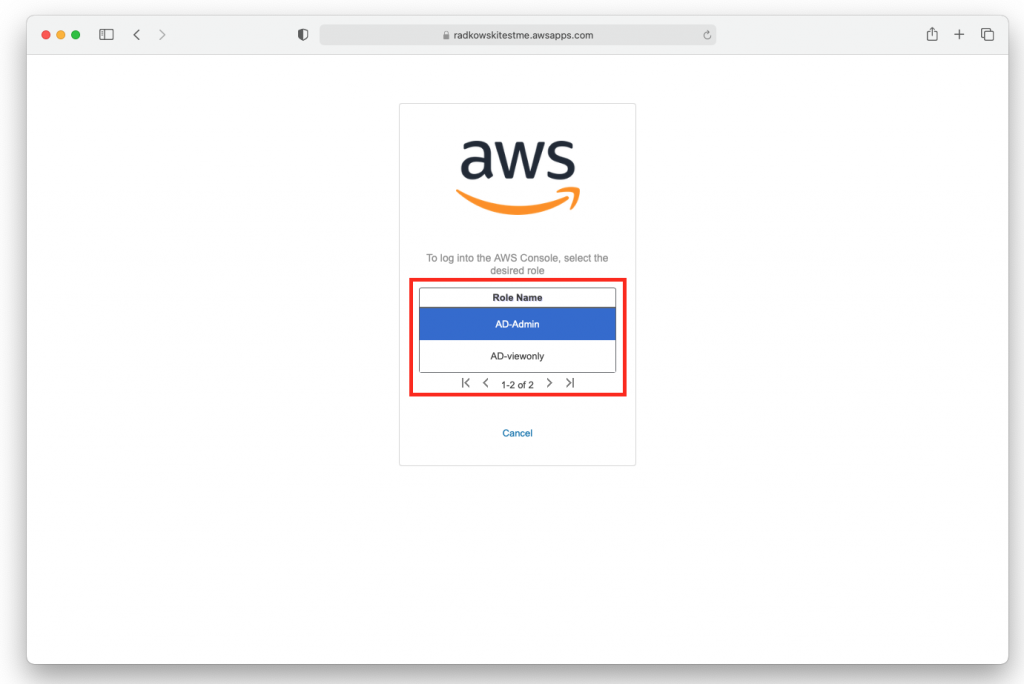
- Log to AWS Console using dedicated URL (step #19)
- Enter username and password

